wali patches & sports
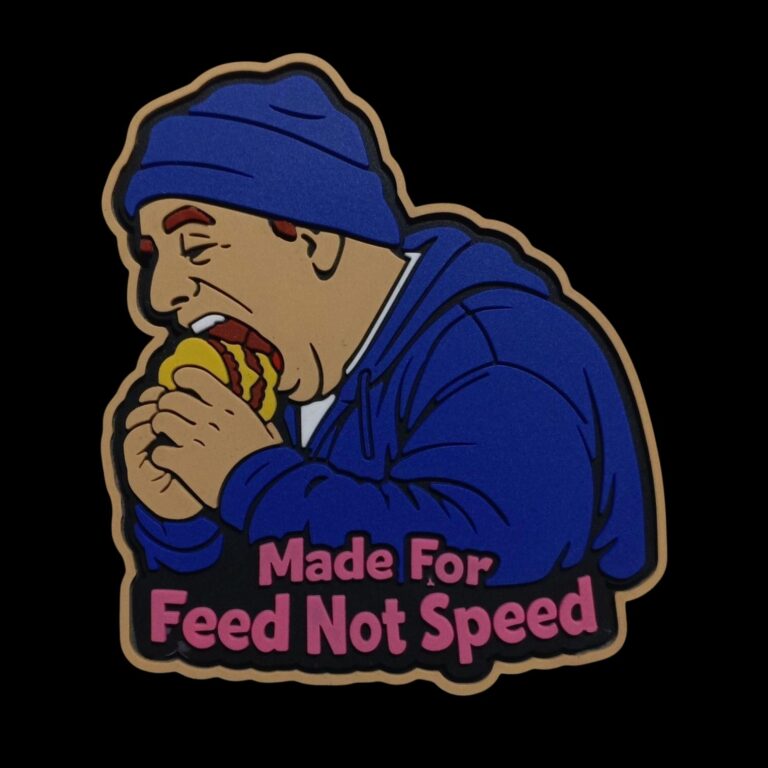
what is pvc patch?
A PVC Patch is a soft, flexible, and durable badge made from Polyvinyl Chloride (PVC). Unlike traditional embroidered patches which are made of thread, PVC patches are made by pouring liquid plastic into a metal mould.
Because of its 3D look, waterproof quality, and long life, it is widely used on tactical uniforms, military jackets, caps, bags, biker vests, school bags, and for brand logos.
It is also known as a Rubber Patch or Silicone Patch.
what material is used to make pvc patches?
To make a high-quality PVC patch, you need three types of materials:
A) Raw Material – Liquid PVC Paste:
1. PVC Resin (Polyvinyl Chloride Paste)
This is the main liquid material.
2. Plasticizer (DOP Oil)
To make the patch soft and flexible. Without it, the patch would be hard.
3. Heat Stabilizer:
To prevent the patch from burning or changing color during heating.
4. Color Pigments:
Special PVC color pastes to give bright and permanent colors.
the mould
The most important tool. It is made from Aluminum or Copper/Brass. The design is engraved on the mould using a CNC machine. One mould can be used for thousands of patches. A custom mould costs from $30 to $150 depending on size.
Backing Material
For attaching the patch to clothes. Common options are: Velcro (Hook & Loop), Iron-on / Heat Seal, Sew-on channel, or Safety Pin
Types of PVC Patches
1. 2D PVC Patch: Flat design, common for simple logos.
2. 3D PVC Patch: Raised and layered design, gives a premium look.
3. Glow in the Dark PVC Patch: Glows at night.
4. Transparent PVC Patch: Uses clear PVC.
How Are PVC Patches Manufactured?
This is the complete factory process:
Step 1: Artwork Design
First, the logo is designed in CorelDRAW or Adobe Illustrator. Each color is separated into a different layer. This is called color separation.
Step 2: Mould Making
The artwork is sent to a CNC engraving machine which engraves the design into an aluminum plate. The deeper parts of the mould will be the raised parts of the patch.
Step 3: Color Filling / Dispensing
This is the most critical step. The liquid PVC mixed with colors is filled into the mould cavities using a syringe or an automatic PVC dispensing machine. Workers fill one color at a time. After each color, the mould is slightly heated to set the color so it doesn’t mix with the next color.
Step 4: Baking / Heating
Once all colors are filled, the mould is placed in an industrial oven or baking machine at 180°C to 200°C for 15-20 minutes. The liquid PVC melts and fuses together to become solid rubber.
Step 5: Cooling and Demoulding
The mould is cooled down to room temperature. Then the solid, flexible PVC patch is removed from the mould by hand.
Step 6: Finishing and Quality Check
Extra material is trimmed. The backing (Velcro, etc.) is attached to the back. Each patch is checked for air bubbles, color mistakes, or defects.
EMBROIDERY PATCHES

What is an Embroidery Patch?
An embroidery patch is the most classic and traditional type of patch. It is made by embroidering threads on a fabric base (usually twill). It has a textured, premium thread look that everyone recognizes on jackets, school uniforms, and caps.
Material Used
1. Base Fabric: Polyester Twill Fabric
2. Embroidery Thread: Rayon or Polyester Thread (Polyester is more durable)
3. Backing Paper: To make the patch stiff
4. Backing Material: Iron-on, Velcro, Sew-on
5. Border: Overlock border to prevent fraying
Types of Embroidery Patches
50%, 75%, 100% Embroidered: Means how much of the base fabric is covered with thread. 100% is fully covered and most expensive. • Chenille Patch: Fluffy, wool-like patches used for varsity jackets.
Manufacturing Process Step-by-Step
Step 1: Design & Digitizing: The logo is converted into an embroidery file (DST, EMB format) using Wilcom or Pulse software. This tells the machine where to stitch.
Step 2: Machine Setup: The twill fabric is fixed in the embroidery machine frame. Threads are set according to design colors.
Step 3: Embroidery: The high-speed computerized embroidery machine (like Tajima, Barudan) automatically stitches the design on the fabric.
Step 4: Laser Cutting: The embroidered sheet is cut into the exact shape of the patch using a laser cutting machine.
Step 5: Border Stitching: An overlock machine stitches the border around the patch to lock the threads.
Step 6: Backing Attachment: Iron-on glue or Velcro is heat-pressed on the back.
Step 7: Finishing: Extra threads are trimmed and quality checked.
Advantages
Classic premium look, low cost for bulk, can be made in any shape.
Disadvantage: Not good for very small text, threads can get dirty, not 100% waterproof.
Machines Required: Computerized Embroidery Machine, Laser Cutter, Overlock Machine, Heat Press.
Best For: School uniforms, police / army badges, fashion brands, caps.
woven patch
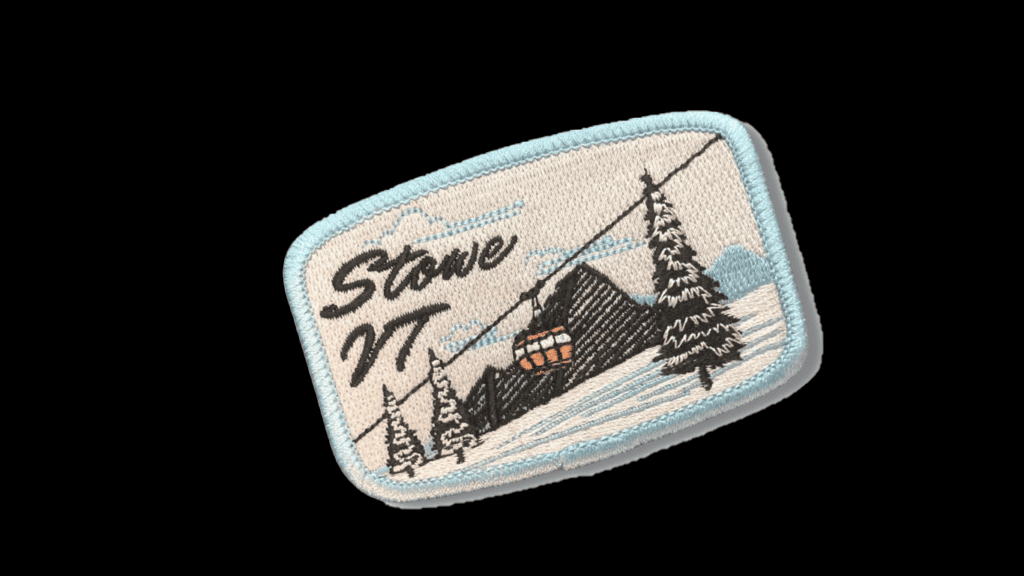
What is a Woven Patch?
Woven patches look similar to embroidered patches but are much thinner and more detailed. Instead of embroidering ON TOP of fabric, the design is WOVEN INTO the fabric itself using thinner threads. This is why you can read very small text on a woven patch.
If you have a very detailed logo with small letters, a Woven Patch is the best choice.
Material Used
1.Base Threads:
Very thin polyester threads (much thinner than embroidery thread)
2. Base Fabric:
The patch itself becomes the fabric during weaving 3. Backing: Same as embroidery – Iron-on, Velcro, etc
Types of Woven Patches
Damask Woven: High thread count, very smooth and detailed. 50% thinner than embroidered. • Taffeta Woven: Cheaper, less detailed than Damask.
Manufacturing Process Step-by-Step
Step 1: Weaving Design File: The logo is converted into a weaving file. Each thread color is mapped.
Step 2: Weaving on Loom: A Jacquard Loom Machine weaves the design directly. Unlike embroidery which stitches on fabric, this machine CREATES the fabric and design together.
Step 3: Heat Treatment: The woven sheet is heat-pressed to make it stiff and colors permanent.
Step 4: Laser Cutting: Cut into custom shapes with laser.
Step 5: Border & Backing: Merrowed border and backing attachment same as embroidery patch.
Advantages
Can show very small text (up to 3mm letters), smooth flat surface, lighter and thinner than embroidery, cheaper for large detailed designs.
Disadvantage: Less textured / 3D look than embroidery, not as premium feel for large logos.
leather patch
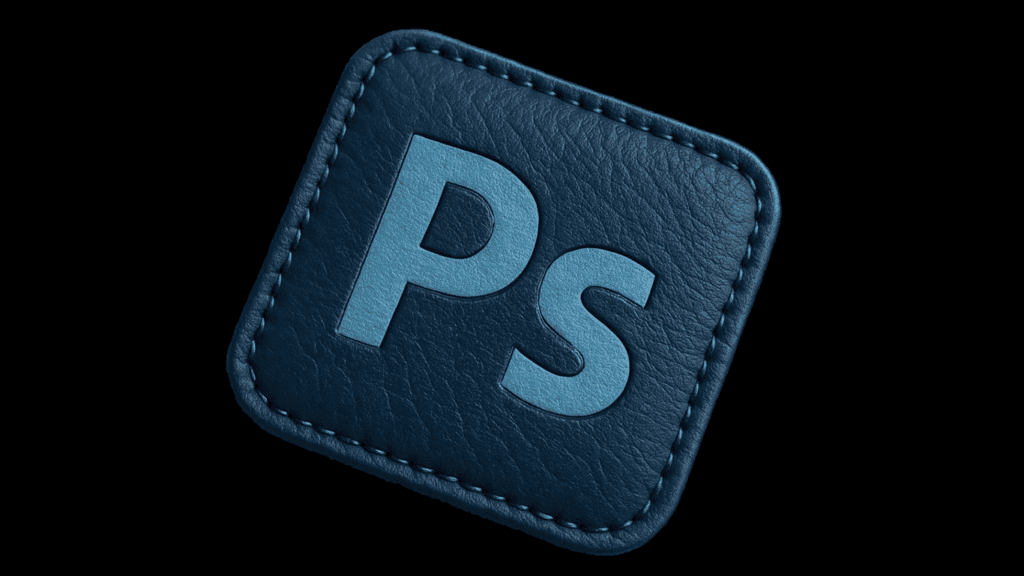
What is a Leather Patch?
Leather patches are made from real or faux (artificial) leather. They give a very rugged, luxury, and vintage look. Very popular on jeans (the patch on the back of Levi’s), jackets, bags, and caps. Especially popular in USA and Europe fashion.
Material Used
Material: Genuine Leather, Faux Leather (PU Leather), or Vegan Leather 2. For Design: The design is not printed, it is DEBOSSED (pressed down), EMBOSSED (raised up), or Laser Engraved. 3. Color: Leather dye or foil stamping for gold/silver logos.
Types of Leather Patches
Genuine Leather Patch:
Made from real cow leather, most expensive, lasts for 10+ years. • Faux Leather Patch: Made from PU / Synthetic leather, cheaper, vegan-friendly, looks almost same. • Suede Leather Patch: Soft velvet-like leather.
Manufacturing Process Step-by-Step
Step 1: Leather Cutting: The leather sheet is cut into the required patch shape (Rectangle, Circle, Shield) using a die-cutting machine or laser cutter.
Step 2: Artwork & Mould Making: A metal mould (brass/steel) of your logo is made.
Step 3: Debossing / Embossing: This is the main step. The leather patch is placed under a Hot Press Machine (20-50 ton pressure). The hot metal mould (150°C) presses on the leather. This creates a permanent pressed logo on leather. No ink is used.
Step 4: Laser Engraving (Optional): For more detailed designs, a CO2 Laser Machine burns the design onto the leather.
Step 5: Coloring / Foiling (Optional): If you want a gold logo, gold foil is pressed with heat.
Step 6: Edge Painting & Stitching: Edges are painted to prevent fraying and holes are made for sewing.
Advantages
Ultra-premium luxury look, extremely durable, never goes out of fashion, best for jeans and leather products.
Disadvantage: Cannot make colorful logos (only 1 color – debossed), expensive, cannot be washed in hot water.
PVC UV PRINTED PATCHES
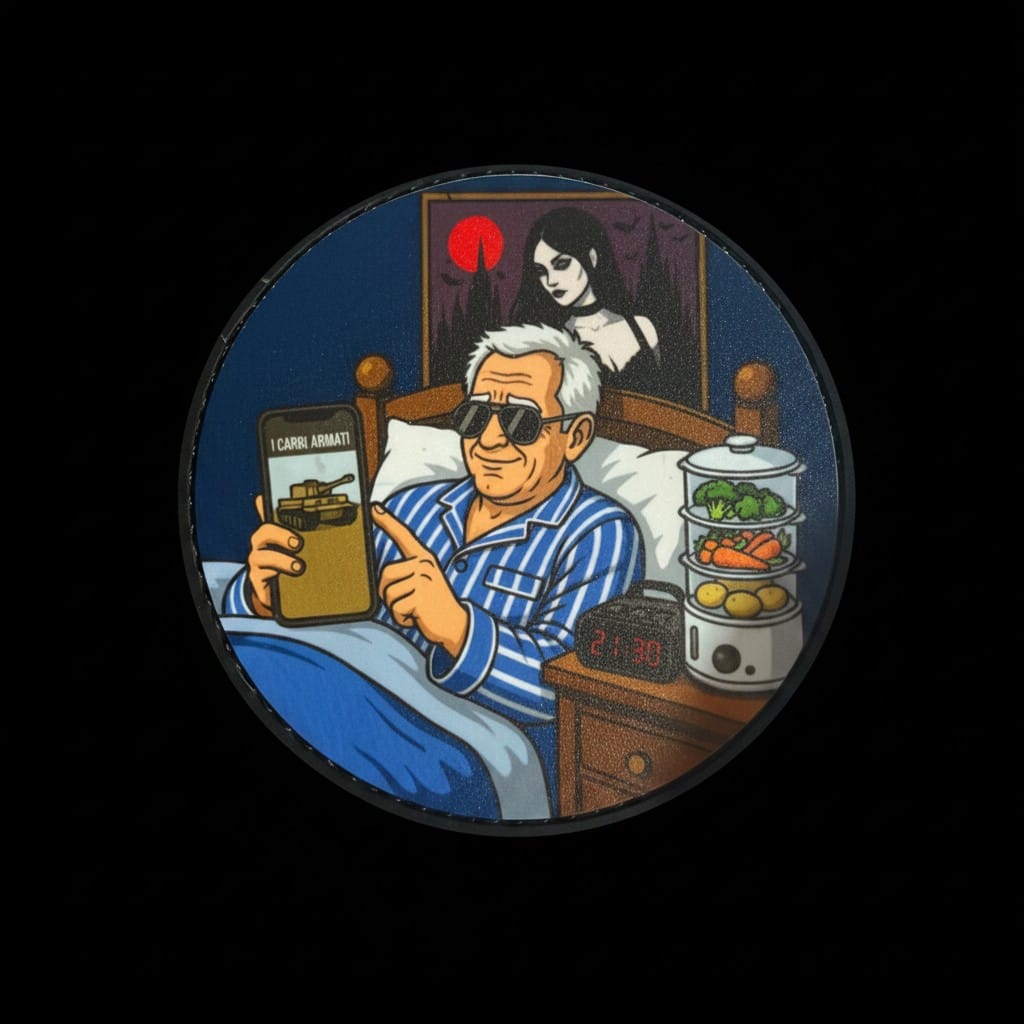
What is a PVC UV Printed Patch?
This is the NEWEST type. It is a combination of PVC + Printing. A normal PVC patch has limited colors because each color is filled by hand. But in UV Printed PVC, the base is made from PVC (or acrylic) and the design is printed on top with a UV Printer.
This allows you to print a PHOTO, gradient colors, and unlimited colors – which is impossible in normal PVC patches.
Material Used
Base Material: Soft PVC sheet, Clear PVC, or Acrylic Sheet (1mm – 2mm thickness) 2. Ink: Special UV Ink (CMYK + White Ink) 3. Varnish: UV Varnish for 3D glossy effect
Types of UV Printed Patches
Full PVC Base with UV Print: White PVC base with full-color print. • Transparent PVC with UV Print: Clear base, looks very modern. • 3D UV Printed: With thick varnish layer that gives a raised 3D feel.
Manufacturing Process Step-by-Step
Step 1: Base Making: A plain, flat PVC sheet (without any design) is made by baking liquid PVC in a flat mould.
Step 2: UV Printing Setup: The design (JPG, PNG) is loaded into a UV Flatbed Printer (like Roland, Mimaki, or Chinese UV printer). No need for color separation.
Step 3: Printing: The UV printer prints the design directly onto the PVC sheet. As soon as the ink is printed, a UV light attached to the printer instantly dries (cures) the ink. This makes the print super sharp and waterproof.
Step 4: Varnish Layer: For a 3D effect, the printer prints a second layer of clear varnish on top of the colors.
Step 5: Laser Cutting: The printed PVC sheet is cut into custom shapes using a laser cutter.
Advantages
Unlimited colors, can print photo / gradient / skin color perfectly, cheaper than normal PVC for small quantity, very fast production (No need for color-wise mould).
Disadvantage: Print can scratch if low-quality ink is used. Less 3D depth than traditional PVC.
LASER CUT PATCHES
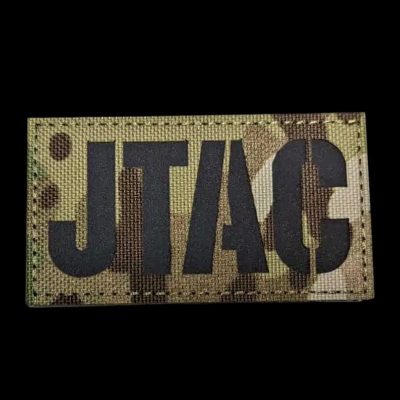
What is a Laser Cut Patch?
Laser Cut Patch is NOT made from a specific material – it is a CUTTING TECHNIQUE. In normal patches, patches are cut with scissors or a hot knife, so you can only make simple shapes like circle, rectangle, square.
But a Laser Cut Patch is cut by a high-power laser beam. Because of this, you can make ANY complex shape, sharp edges, and intricate designs without any fraying. The laser melts and seals the edge at the same time, so the patch looks super clean and premium.
Mostly, Laser Cut Patches are made from Twill Fabric, Felt, Leather, or PVC sheet.
Material Used
Base Material (You can choose any one) Polyester Twill Fabric – Most common for clean look Felt Fabric – For thick, soft patches ◦ Faux Leather / Genuine Leather ◦ PVC / Silicone Sheet ◦ Reflective Fabric 2. Design Material: ◦ If you want embroidery on it: Polyester Embroidery Thread
If you want printing on it:
Sublimation Ink or UV Ink 3. Other Materials: ◦ Heat Seal / Iron-on Glue for backing ◦ Velcr
Types of Laser Cut Patches
1. Laser Cut Twill Patch: Simple fabric patch cut into a custom shape. No embroidery. Very clean and cheap. Used for fashion brands.
2. Laser Cut Embroidered Patch: First the design is embroidered on twill, THEN it is cut with laser into any complex shape. This is the most popular type.
3. Laser Cut Felt Patch: Thick felt material cut with laser. Used for Chenille and varsity jackets.
4. Laser Cut Leather Patch: Leather cut into sharp shapes with laser. No burning smell if done with good machine.
5. Laser Cut Woven Patch: Woven patch cut with laser for perfect small letters and custom shape.
Manufacturing Process Step-by-Step
Step 1: Design Creation
The logo is designed in Adobe Illustrator or CorelDRAW in vector format. Two files are made – One for Embroidery/Printing and one for Laser Cutting (cut line file).
Step 2: Base Preparation
If it’s an embroidered laser cut patch, first the base fabric (twill) is embroidered on an embroidery machine. If it’s a printed one, the fabric is sublimation printed.
Step 3: Laser Setup
The embroidered/printed sheet is placed flat on the CO2 Laser Cutting Machine bed. The operator loads the cutting line file (PLT, DXF, AI format) into the laser software.
Step 4: Laser Cutting – The Main Step
The CO2 laser beam (usually 60W – 150W power) cuts the fabric. The laser is extremely hot (more than 1000°C). It cuts AND seals the edge at the same time.
Why this is important: When you cut fabric with scissors, the threads come out (fraying). Laser melts the polyester edge and seals it, so it will NEVER fray. This gives a super premium finish.
Speed: 1 patch takes only 2-5 seconds to cut.
Step 5: Cleaning
A small air compressor blows away any smoke or burnt dust from the patch.
Step 6: Backing Attachment
Heat Seal film or Velcro is applied on the back using a Heat Press Machine at 160°C for 15 seconds.
Step 7: Quality Check
Each patch is checked for burnt edges, cutting accuracy, and clean finish.